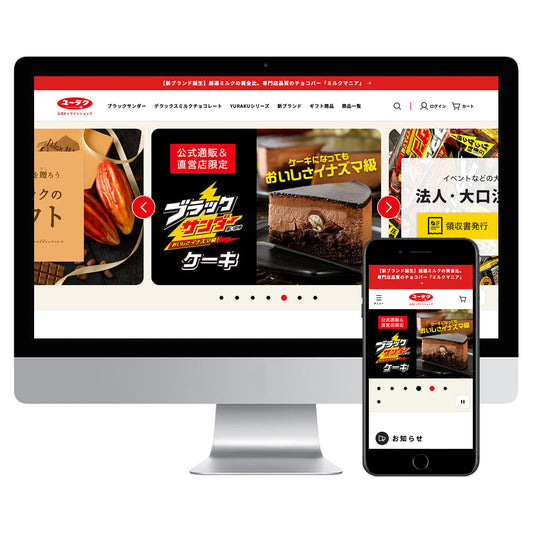
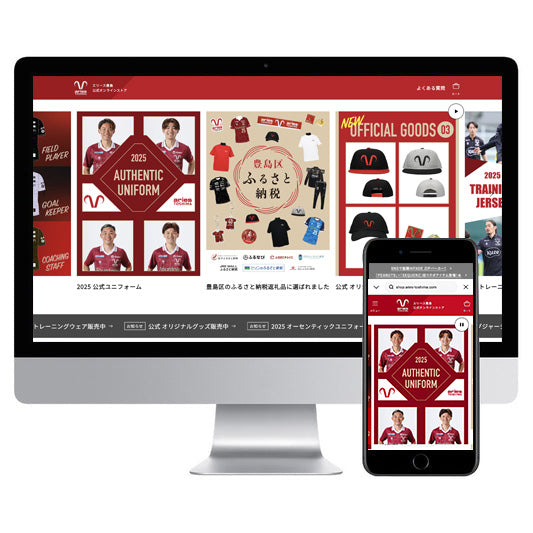
In this article, we will explain the "Rakuten Ichiba Sales Channel" that has appeared in the Shopify app store. Since this is an "introduction" article, we will explain the steps to use the app. Please note that you cannot use the app just by installing it.
What you can do with the Rakuten Ichiba Sales Channel app
To give a rough outline of what you can do by installing this app before you start your preparation, there are two things to note:
- Products registered on Shopify can be copied to Rakuten
- Orders for registered products on Rakuten can be managed through Shopify
To put it simply, this app allows you to register products and manage orders with Shopify without having to access Rakuten's RMS.
Those who will benefit most from this app are businesses who currently operate a shop on Shopify and are planning to open a store on Rakuten in the future. On the other hand, businesses who already operate both Shopify and Rakuten and have solidified their operating policy may not benefit as much. This is because what this app can do is copy Shopify products to Rakuten, and it cannot link with products that are already registered on Rakuten. If you are already operating a Rakuten store and want to use this app, you will probably need to use it with limited products, or delete or make private your registered Rakuten products.
Please note that simply installing the app and linking it to Rakuten will not overwrite any existing Rakuten product information, so please feel free to use it.
Related articles:
[Integration] Unified store management for Shopify and Rakuten! Explanation of the Rakuten Ichiba Sales Channel App
Order and inventory integration between Shopify and domestic malls (Rakuten, Yahoo!, Amazon)
Step 1: Installation on Shopify
Access the Shopify app store via the admin screen of the shop you want to install the app on and search for "Rakuten." The URL below is the app page, but please be aware that if you manage multiple Shopify sites, you may end up installing the app on an unintended shop.
Rakuten Ichiba Sales Channel - Shopify app store

On the Apps page, click the "Add App" button.

Once you reach this screen, double-check which Shopify store it will be installed on and click the “Add sales channel” button.

Next, you will see this screen, so click on "Enter store information."
*This article assumes that you already have a store on Rakuten Ichiba. If you do not have a store on Rakuten Ichiba yet, you will need to apply to open a store on Rakuten Ichiba separately.

You will be asked to enter four pieces of information, and after this, Rakuten will look for information 1 through 4. As explained, you just need to enter the store URL (account), so there is no need to look into 1, but 2 through 4 are a bit tricky, so we will explain them in the next step.
As an aside, this app is a "sales channel" so it will not appear in the "App Management" list. It will be displayed under "Sales Channels" in the side menu, so if you want to set it up after installing it, please access it from here. You can also add this app (channel) from the + button to the right of the sales channel.

Step 2: Gather necessary information on Rakuten
First, please log in to RMS to enter the required information, the "RMS API license key."
Once you have logged in, please go to Extended Services List > 2 Various Applications and Setting Changes.

Click the "Change settings" button in the "API access permission settings from system development company" section at the bottom of the Various Applications/Settings Changes page.

A page titled "List of Products Used" will open in a new window, so click on the "RMS Service Square" link.
"RMS Service Square" will also open in a new window, so enter "shopify" in the search form in the upper right corner.

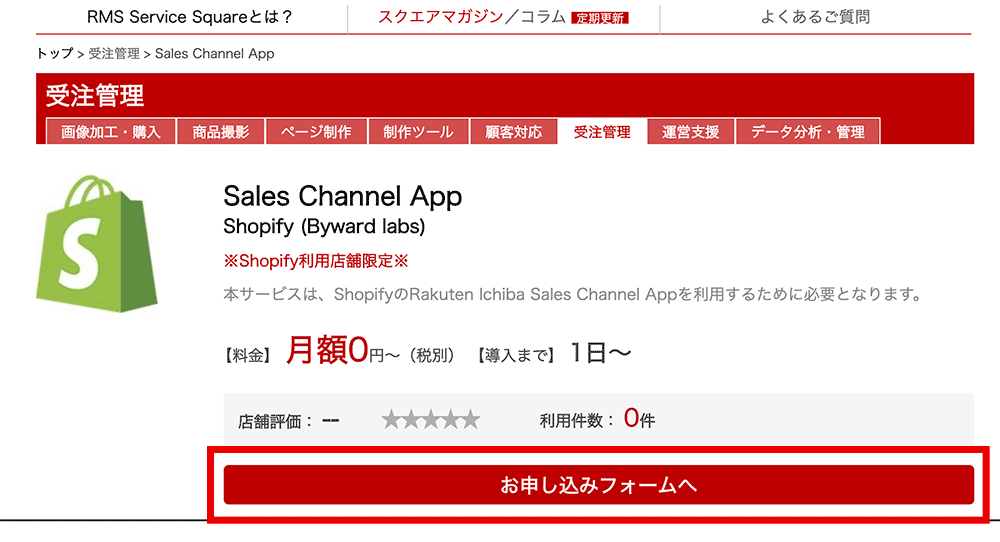
A product called "Sales Channel App" will be displayed. Please proceed to the details page and enter the required information in the application form.

After a while, you will receive an email titled "Application Completion Notification" to the email address you registered.

If you reopen the "List of Products in Use" page, the "Sales Channel App" you applied for should be added, so copy the "License Key" here and paste it into the input field "2".
Next is 3 "SMTP ID" and 4 "SMTP password". This is information for Rakuten's "Secure Mail Address Service", so go to "R-Login".

Click "R-Login (User Management)" from the drop-down menu in the upper right corner of RMS.

After login authentication, when the above screen appears, click on "Secure Email Address Service Menu."

On this screen, enter the "SMTP AUTH ID" into "3" and the "SMTP AUTH Password" into "4", then click the "Connect" button.

Once the connection is successfully completed, you will see the following screen. At this point, no information has been linked, so you will need to configure the settings to copy products to Rakuten, but we will explain how to do this next time.

If you enter the wrong "RMS API license key" or if you have just applied for RMS Service Square, you will receive an error message like this and will be unable to connect. If the information you entered is correct, please wait a while and try connecting again.
The subsequent product/inventory integration and order integration are explained in the [Integration] section.
[Integration] Unified store management for Shopify and Rakuten! Explanation of the Rakuten Ichiba Sales Channel App


