In this article, we will continue from the previous "Introduction" and explain the "Rakuten Ichiba Sales Channel". This time, we will explain the "Integration" part, from product registration to order integration after installation. If you have not yet installed the app and set up the connection to a Rakuten store, please check the contents of the Introduction part first.
Related article: [Introduction] Integrate Shopify and Rakuten store management! Explanation of the Rakuten Ichiba sales channel app
Chapter 1: Product registration and inventory integration - Settings on Shopify side -
We will continue explaining the content explained in the introduction (after the connection settings with Rakuten have been completed).
1: Check the status within the Rakuten Ichiba sales channel
When you enter the "Rakuten Ichiba Sales Channel" screen, immediately after setting up the connection, "Published" and "Published" will show "0", and "Unpublished" will show the number of products registered in Shopify. Click the "Add Information" button or the "Unpublished" link.

2: Add products on Shopify
You will be directed to the Shopify product management page with the products filtered by the "Rakuten Ichiba Sales Channel" as public. Of course, there are no matching products at this point.
This time, we will explain how to register a new product on Shopify and then copy and register it on Rakuten. Click the "Add Product" button on the top right.

3: Registering product information
First, enter the required information, upload an image, and register your product as you normally would in Shopify. Next, click the "Manage" link to set up your sales channel.

4: Setting up your sales channels

All channels are checked by default, but since this is just a test, select only "Rakuten Ichiba (JP)" so that it does not appear on the Shopify site. Press the "Done" button, then "Save" the product page.
5: Go to the edit screen for the information you want to register on Rakuten
Next, select “Edit Product” from the “More Actions” menu at the top of the page.

6: Setting the product name, product description, and catchphrase
Then, the input screen for the product information to be copied to Rakuten will be displayed, so enter and select the information in order. The "Product name" and "Product description (PC/smartphone)" will be the same as what you entered in Shopify earlier.

"Catchphrase" is a field that does not exist in Shopify, so you will need to enter it anew. It is the same for PCs and smartphones, but Rakuten has different character limits for PCs and smartphones, so it is best to register it according to the lower character limit for smartphones (30 full-width characters). The character limit for "Product Description" is the same for PCs and smartphones, but the tags that can be used and the number of images that can be registered are different, so we recommend paying attention to this when registering and checking with Rakuten after registration.
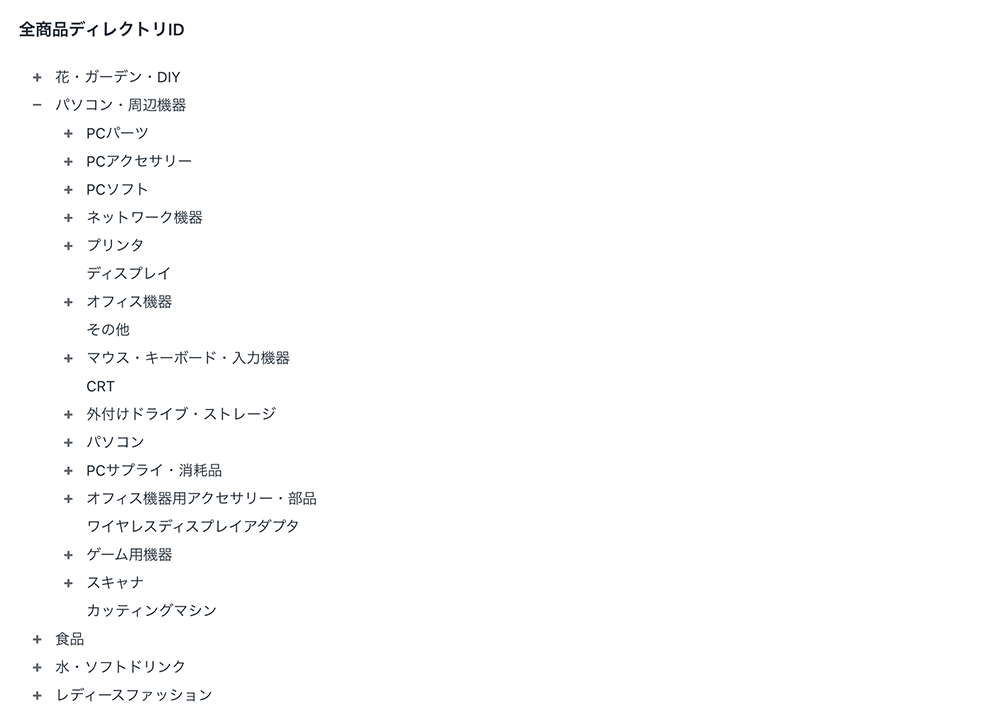
7: Setting all product directory IDs
Next, set the "All Product Directory ID", which is the product category for the entire Rakuten Marketplace.
8: Setting and adding product images
When you open this screen, no product images will be registered. If you want to use the images you registered in Shopify on Rakuten as is, make sure they comply with Rakuten's regulations from 1 to 4, then click the "My photos are..." checkbox. This will upload the images you registered in Shopify to Rakuten as is.
There is one thing to note about the first image. In addition to the above stipulations 1 to 4, you must also follow the "Product Image Registration Guidelines" established by Rakuten. For the first image used on the listing page, the guideline states that "the occupancy rate of text elements placed within the product image should be 20% or less." Please be aware that violating the rules of this guideline may result in the suspension of your listing or, in some cases, your store being suspended.

9: Setting prices and tax rates
For some reason, the price information registered in Shopify is not carried over, so you will need to enter it again. You can set the price to the same as in Shopify, or you can set and sell at a different price.
Please select the tax rate that is set for the product. Shipping fee can be left blank.

10: Check the contents and post
Finally, confirm the registered information, check "Publicable", and click the "List" button. When you click the button, the product will be immediately reflected in its public state on Rakuten, so please check carefully before pressing the button. Also, since the inventory cannot be set arbitrarily, the inventory amount registered on the Shopify product management screen will be synchronized.

Chapter 2: Product registration and inventory linkage ~Rakuten side settings~
1: Check if you are registered with Rakuten
When you log in to RMS and go to the product list page, you will probably see the newly added product in a published state at the top. You may be a little worried that the product has suddenly been published, but it will not be reflected on the list page immediately, so please stay calm and click "Change".

2: Setting to not display in the list until the registration details are confirmed and corrected
Once you are on the product editing screen, check "Hide from search" in "Product Registration Information" at the bottom of the page and press the "Change Product Information" button. By doing this, the product will not be picked up in searches or displayed in the category product list, so there is almost no risk of it being purchased unexpectedly. You can also prevent unexpected purchases by making the product private by "putting it in warehouse", but if you make it "publishable" on the Shopify side and update the information, it will also revert to "for sale" on Rakuten, so be careful.
The "Hide from search" setting is not available on the Shopify side, so even if you make any updates on Shopify, this setting on Rakuten will not change. Therefore, we recommend that you set this setting if you are adding or changing product information on Rakuten after registration.

Any information other than "Warehouse Designation" that can be registered on the Shopify side will be overwritten if updated, so please be careful not to "revert" if you edit the "Product Description" on Rakuten.
3: Product control number and product number
You will be returned to the product editing screen.
The "Product Management Number (Product URL)" and "Product Number" are set automatically. The "Product Management Number (Product URL)" cannot be edited later, so there is nothing you can do about it. The "Product Number" does not contain the SKU registered in Shopify, but the product ID (the number at the end of the URL for the product management page) that is automatically assigned by Shopify. This can be changed to any content.

All information other than what you registered with Shopify will be in the default state, so register and set it as necessary. In particular, it is recommended that you register and set the following information again.
- Shipping method set
- postage
- Display delivery information
- Sales description for PC
- White background image
- Tag ID
- Catalog ID
- Display Category
- Display ranking in in-store categories
- Point conversion rate
4: Check the product page display
Please check the display of each item by clicking "View Product Page" or "View Product Page (Smartphone)" at the bottom of the product editing screen. If you have registered with Shopify, the category will be classified as "Other".

Once there are no problems with the content or display and it is OK to make it public, you can remove the "Hide from search" setting to make it publicly available.
Chapter 3: Order Integration
We will explain the process after the product you registered as above is purchased on Rakuten.
1: Confirm order with Shopify
Once an order is confirmed on Rakuten (payment processing is complete), the information is also imported into Shopify. If you check the order status on the Rakuten Ichiba sales channel and see a number other than 0 in the message "● orders from Rakuten...", that's a sign that the item has been sold on Rakuten. Clicking "Ready to accept order" will take you to the order management screen with the relevant orders filtered.


2: Order information checkpoints
There are some things that are different from selling directly on Shopify and things to be aware of.

- Order number: The order number in the format set in Shopify, which is different from the order number issued by Rakuten
- Rakuten ID: This is the Rakuten order number.
- Customer has paid: The payment has been made through Rakuten, so it is "¥0"
- Timeline: Order confirmation email sent from Shopify
Regarding 4, you should be especially careful because Rakuten also automatically sends you an order confirmation email. At the moment, it is not possible to turn off the order confirmation email sent by Shopify, so it may be necessary to take measures such as indicating in advance on the Rakuten product page that a different email will be sent, or to devise a way to word the Shopify email.
3: Shipping Process
Once the product has been shipped, the process will be carried out as usual on the Shopify side and the same will be reflected on Rakuten. Therefore, as long as your product information on Shopify and Rakuten is fully synchronized, order processing will be completed entirely on Shopify.
4: Cases where order integration is not possible
The above order was made by selling a product registered on Rakuten via Shopify, so the order data was linked. For example, if a product registered on Rakuten is sold, what happens if a product registered via Shopify and a product registered on Rakuten are sold at the same time? Will the orders be linked?
After testing, we found that in both of the above cases, the order data was not imported into Shopify and was not linked.

When checking the order information on Rakuten, if the order was linked (if only products registered via Shopify were sold), a number called "Shopify Order ID" was entered in the "Note" field. This number is the last number in the Shopify order management page URL. Of course, if the order was not linked, nothing was entered in the "Note".
summary
As I wrote at the beginning of the introduction, the people who will benefit most from this Shopify and Rakuten linked app are businesses who are already running a shop on Shopify and are planning to open a store on Rakuten . If you are already running a Rakuten store, running both Rakuten and Shopify, or running a store on other platforms, you will need to reconsider your order processing system, so you will need to weigh which of the two has the greater benefit.
The current release version does not allow for detailed settings, so it cannot be denied that there are some areas that are not fully addressed. However, since it is an officially released app by Rakuten, it is entirely possible that new features and improvements will be added in future updates. At this stage, it is difficult to say that the app is easy for everyone to use, so we are looking forward to future updates and upgrades.
ECサイト全般のサポートも見てみる


